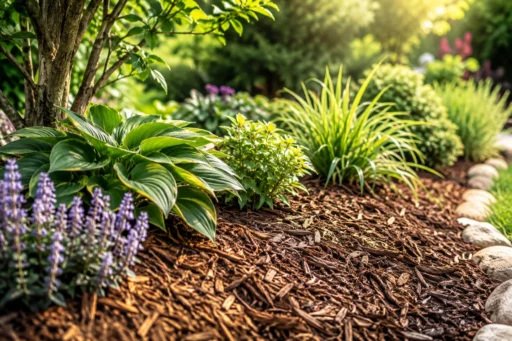
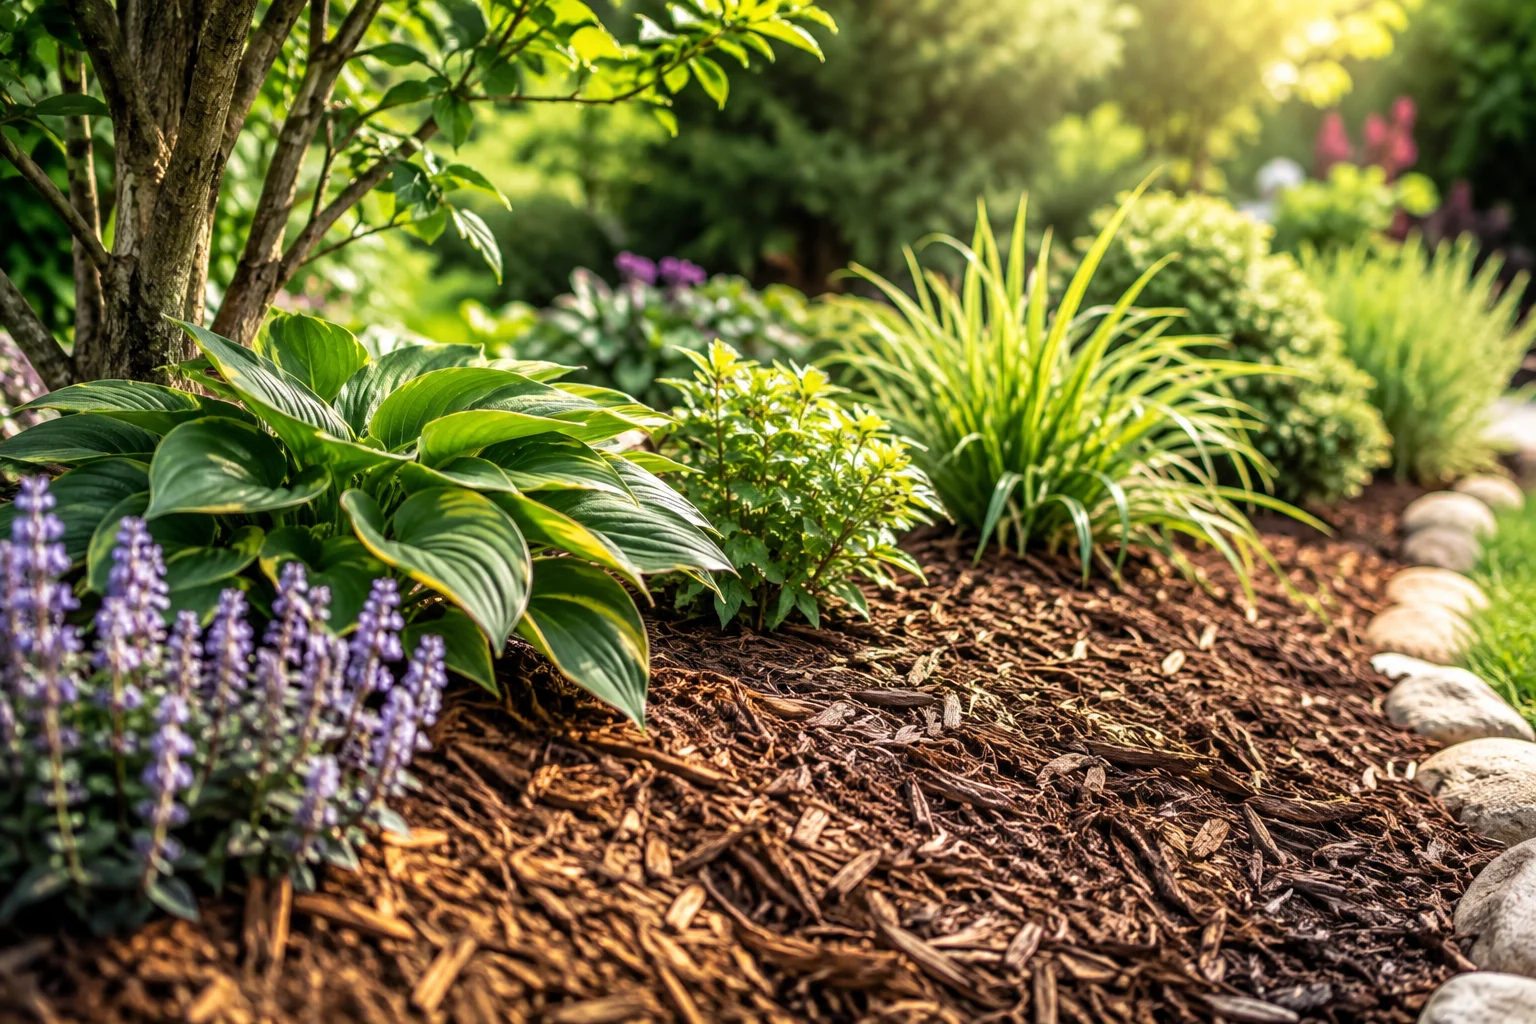
One of the simplest ways to make a garden more resilient and keep the soil consistently moist is mulching it well. A 2 to 3 inch layer of organic mulch insulates roots from summer heat and winter cold, suppresses weeds, and cuts down on evaporation. Spread it over well-watered, weed-free soil in late spring, once the ground has warmed up.
At Solera Gardens, we believe every gardening task should support living, healthy soil working in step with nature. Whether you’re mulching a backyard orchard, an overflowing flower border, or looking for ways to use less water in the vegetable patch, getting mulch right makes a real difference. If you’re just starting a new garden plot, our guide on how to plan a vegetable garden for beginners is a good place to build a solid foundation before you spread your first wheelbarrow of mulch.
When Should You Mulch Your Garden?
There’s a sweet spot for spreading fresh mulch, and for most home gardeners, that’s late spring. This is roughly when the soil has warmed enough on its own that winter’s chill has genuinely passed. Mulching too early in spring can trap cold, overly damp soil underneath, which slows seed germination and stalls early growth in warm-season crops like tomatoes (Solanum lycopersicum), while also creating conditions that encourage root-rotting fungi.
There’s a second, equally important application in late fall that serves a very different purpose. Rather than keeping soil warm, it keeps soil reliably cold and stable. This helps prevent the freeze-thaw cycles that can heave perennials, shallow-rooted herbs, and tender spring bulbs partway out of the ground, exposing their crowns to damaging cold. Wait until the ground has frozen solid before laying down this protective layer, since mulching too early can invite rodents looking for a cozy spot to burrow near your shrubs.
How to Water a Vegetable Garden: Why Mulch Is Your Best Tool
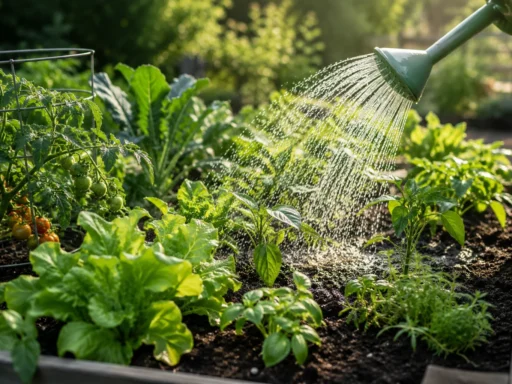
Watering a vegetable garden well isn’t just about turning a hose on and off or setting a sprinkler timer. It’s about keeping moisture down at the root zone and out of the air. Bare soil exposed to full sun dries out remarkably fast, sometimes within a day of watering. A layer of organic mulch over your beds locks in moisture far more effectively, cutting evaporative losses nearly in half and buying you a week or more before you need to water again.
Mulch also softens the impact of rain and sprinkler water on the soil surface. Bare earth exposed to heavy raindrops can develop a hard, compacted crust that actually repels water rather than absorbing it, increasing runoff and evaporation. A layer of organic material breaks the fall of each drop, letting water trickle down gradually to the root zone instead, which keeps moisture levels steady and helps prevent issues like blossom end rot in crops such as peppers (Capsicum annuum).
The Core Benefits of Mulching Your Garden
Understanding why mulch works so well helps explain why so many gardeners and horticulturists consider it a non-negotiable step, even in an already attractive garden. The real value lies in what’s happening beneath the surface.
Unmatched Moisture Conservation
Sun and wind are the two biggest drivers of soil moisture loss, and mulch protects against both. Keeping the top inch or two of soil consistently moist ensures plants have steady access to dissolved nutrients, which they can only absorb in that form. This matters especially for shallow-rooted plants like lettuce (Lactuca sativa) or onion (Allium cepa), which can’t reach deep for water during a dry spell.
Natural Weed Suppression
Garden soil is typically full of dormant weed seeds just waiting for the right combination of light and warmth to germinate. A thick, 2 to 3 inch layer of mulch blocks that light effectively, preventing most weed seeds from sprouting and smothering any seedlings that do manage to emerge. Whatever weeds do appear also tend to pull out easily, since they’re rooted in loose mulch rather than compacted soil.
Effective Soil Temperature Regulation
Plant roots don’t handle sudden temperature swings well. Intense July heat can push soil temperatures high enough to stress roots and stall growth. A layer of mulch acts almost like natural air conditioning, helping plants get through the hottest afternoons more comfortably. Come an early fall frost, that same mulch layer helps retain residual soil warmth, buying a bit of extra time for root crops still maturing.
Soil Structure and Fertility Enhancement
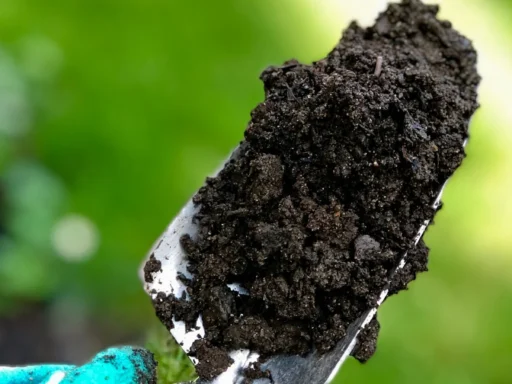
Organic mulch breaks down gradually, feeding the soil food web as it decomposes. This process releases nutrients plants can use directly, along with humic acids that support mycorrhizal fungi, earthworms, and other beneficial soil organisms. Over time, this improves aeration, lightens heavy clay soil, and helps sandy soil retain water more effectively.
Best Types of Mulch: Organic vs. Inorganic
Choosing the right material matters whether you’re mulching a path, a vegetable bed, or an ornamental border. Mulches generally fall into two categories: organic mulches that break down and enrich the soil, and inorganic mulches that are durable but offer no real soil benefit.
Organic Mulch Options
- Arborist wood chips and shredded bark: Durable and slow to break down, making it a great fit for paths, established beds, and borders around trees and shrubs. It suppresses weeds well and gives a clean, natural finish.
- Clean straw or salt hay: A top choice for vegetable gardens. Light-colored straw reflects strong sunlight, keeps ground-level produce like strawberries and melons off damp soil, and is simple to lay down and clear away between plantings.
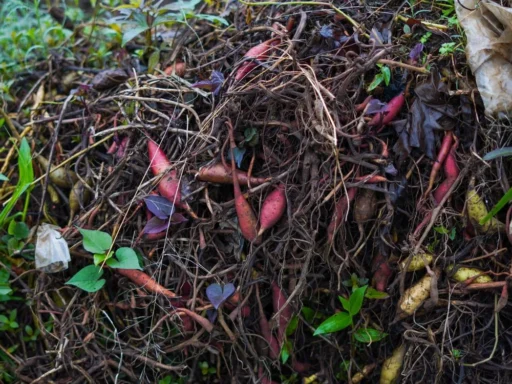
- Composted leaf mold: Decomposed, shredded leaves make an outstanding all-purpose mulch. Rich in beneficial microbes and closely resembling a natural forest floor, it’s especially well suited to native plants, woodland species, and ferns.
- Pine needles (pine straw): Ideal for acid-loving plants like blueberries, azaleas, and rhododendrons. Their interlocking structure helps them stay put on sloped beds even during heavy rain.
Inorganic Mulch Options
- Gravel, river rock, and pea stone: Well suited to rock gardens, succulent plantings, and low-maintenance Mediterranean-style landscaping. These materials are permanent and drain well, though they can absorb and radiate a fair amount of heat.
- Landscape fabric: Often installed under gravel pathways to suppress weeds, though most landscaping experts advise against using it in planted beds. It degrades over time, restricts natural airflow to the soil, and makes planting or working the bed much more difficult.
| Mulch Type | Ideal Use Case | Lifespan | Water Retention Level | Main Advantage | Notable Drawback |
| Shredded Bark | Perennial borders, woody shrub beds, trees | 2 to 3 years | High | Extremely wind resistant | Can temporarily tie up nitrogen if mixed into soil |
| Clean Straw | Vegetable gardens, strawberry patches | 1 season | High | Easy to apply and move | May contain hidden weed seeds if low quality |
| Leaf Mold | Native plantings, shade gardens, vegetable beds | 1 year | Very high | Rich in beneficial soil microbes | Decomposes quickly and needs annual replenishment |
| Pea Gravel | Rock gardens, pathways, succulent displays | Permanent | Low | Excellent drainage, never decays | Can absorb and radiate intense heat |
Step-by-Step Guide: How to Mulch Your Garden Correctly
Mulching seems simple, but doing it properly saves considerable time on weeding and watering down the line. Here’s the process to follow.
Step 1: Prepare the Soil Surface
Before spreading mulch, take a little time to prep the bed. Hand-pull visible weeds, including deep taproots from perennials like dandelions, and lightly rake the area to smooth out any major dips or bumps.
Step 2: Establish Your Irrigation Setup
If you’re using a drip line or soaker hose, lay it across the soil surface before adding mulch. This protects the tubing from UV damage and delivers water directly to the soil rather than losing it to evaporation. Once it’s in place, water the bed thoroughly before mulching.
Step 3: Distribute and Spread the Mulch
Spread mulch in small, even handfuls or shovelfuls around the bed, then smooth it out with a bow rake or gloved hands. Aim for a consistent depth of 2 to 3 inches. Any thinner and it won’t effectively block weeds, any thicker and it risks smothering plant roots.
Step 4: Create a Safe Buffer Zone
Once the mulch is spread evenly, gently rake it back from the base of plant stems and tree trunks, leaving a clear ring at least 2 to 3 inches wide. This prevents excess moisture from collecting against bark, which can otherwise weaken it and invite wood-boring insects or fungal disease.
Solera Gardens Tip: To calculate how much mulch you need, multiply your garden area in square feet by your desired mulch depth in inches, then divide by 324. This gives you the cubic yards needed for a 2 to 3 inch layer.
Common Mulching Mistakes to Avoid
Even experienced gardeners fall into a few habits that undermine plant health. Knowing what to avoid keeps your landscape healthier and more disease-resistant.
The Perils of “Volcano” Mulching
One of the most common mistakes in landscaping is piling mulch up against a tree trunk in a cone or “volcano” shape. This traps moisture against the bark, encouraging rot, fungal growth, and disease. Over time, it can also cause girdling roots to develop within that moist mulch layer, roots that wrap around the trunk and slowly choke the tree.
Applying Mulch Over Bone-Dry Soil
Mulch is excellent at holding in moisture, but it’s just as good at keeping already-dry soil dry. Spreading a couple of inches of dry wood chips over parched, dusty soil means light rainfall often gets absorbed by the mulch itself before it ever reaches the roots below. Always water deeply before applying fresh mulch.
Using Fresh, Uncomposted Wood Products
Fresh, green sawdust straight from a tree service can temporarily throw off the nutrient balance in garden soil. As microorganisms break it down, they draw nitrogen from the surrounding topsoil to fuel the decomposition process. If you’re using fresh, uncomposted wood products, reserve them for pathways or use them around mature, well-established trees that can handle a temporary dip in surface nitrogen.
Overlooking the Signs of Overwatering
It’s easy to fall into a habit of overwatering when a thick mulch layer hides the true condition of the soil underneath. Since you can’t see the surface easily, it’s possible to keep watering into soil that’s already saturated and oxygen-starved. Watch for warning signs like pale, yellowing lower leaves, stalled new growth, wilting stems that don’t recover after watering, and a sour, boggy smell coming from the soil.
Frequently Asked Questions
Does mulch attract termites to my home? Termites are drawn to damp wood, but mulch alone rarely provides enough of a food source or nesting habitat to establish a colony. To minimize any risk, keep mulch at least 6 inches away from your home’s foundation, siding, and any wooden structural elements.
Can you put new mulch directly over old mulch? Yes, fresh organic mulch can go directly over older mulch that’s already partially decomposed. Rake the old layer first to break up any compacted, matted crust that might repel water, and make sure the combined depth of both layers doesn’t exceed 3 inches.
How thick should garden mulch be? Aim for a consistent 2 to 3 inches. Less than that lets light reach weed seeds underneath, while more than 3 or 4 inches can block oxygen from reaching plant roots.
What is the best mulch for vegetable gardens? Clean, weed-free straw, composted leaves, or quality pine needles all work well. These lightweight organic materials break down within a single season, improve soil structure naturally, and are easy to move aside when it’s time to plant.
Why is my mulch turning white or yellow? This is usually a harmless, naturally occurring fungus, like slime mold or mycelium, actively breaking down the wood fibers in the mulch. It’s not a threat to your garden and actually signals healthy decomposition making nutrients more available to your plants.
Should I use landscape fabric under my mulch? Generally, no, not in planted beds. Landscape fabric blocks decomposing mulch from enriching the soil below it, and over time, wind-blown weed seeds settle into the mulch on top of the fabric and root straight through it, making them far harder to remove.
How do you identify signs of overwatering plants under mulch? Pull back a small section of mulch and check the soil about 2 inches down for excess moisture or mud. On the plants themselves, look for soft, yellowing leaves, leaf drop, mushy stem bases, and a lack of new growth despite otherwise good care.
Conclusion
Mulching well is one of the most valuable things you can do for your garden. It cuts down on weeding, protects roots from temperature extremes, feeds the soil over time, and conserves moisture, making watering easier and supporting stronger, healthier growth overall. Use the guidance above as a starting point, then adjust based on your own soil, climate, and how your garden responds. A little attention to mulching goes a long way toward a thriving landscape.
If you have fallen leaves to reuse, our leaf composting guide explains how to manage the pile.
For vegetable beds, our watering guide explains how to check moisture before adding more water.