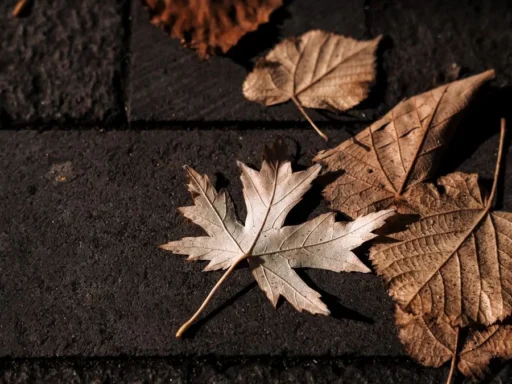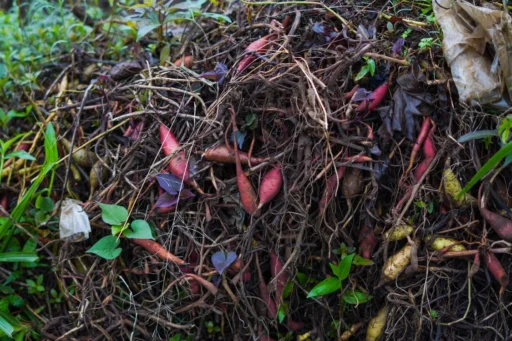

A pile of fall leaves can look like one more weekend chore. Give some of those leaves a place in the garden, though, and they become material you can use again.
To compost leaves, shred them if practical, mix them with nitrogen-rich materials, keep the mixture damp, and turn it to introduce air. If you only have leaves and want less work, make leaf mold instead. Both are useful; choose the method that fits the materials and time you have.
Choose your method before filling a bin
There is no need to collect kitchen scraps just because you have a yard full of leaves. Decide what you want from the pile first.
- Choose mixed compost if you have leaves plus fruit and vegetable scraps or suitable grass clippings, and you are willing to check and turn the pile.
- Choose leaf mold if you mainly have leaves, a spare corner, and no deadline for using the finished material.
For a first attempt, keep the project manageable. One clearly marked batch is easier to follow than several piles started at different times.
1. Gather leaves and set up a working space
A bin keeps loose leaves contained. Aim for an active compost pile roughly 3 to 5 feet across and tall, with access for watering and turning. Smaller quantities still decompose, but may not build much heat.
Remove litter and leave out badly diseased plant material. Keep pet waste, meat, grease, bones, and dairy products out of a basic backyard pile. A casual home compost heap may not get hot enough throughout to deal with pathogens or weed seeds reliably. These precautions follow University of Minnesota Extension’s home composting guidance.
Before choosing the corner behind the shed, imagine carrying a watering can there and turning the pile with a fork. Leave yourself room to work.
2. Shred the leaves and mix in greens
Shredding exposes more surface area for decomposition. You can use a mower with a suitable collection attachment, following its operating instructions. Whole leaves also work if shredding is inconvenient.
Dry fallen leaves count as “browns,” which supply carbon. Vegetable scraps, fresh grass clippings, and coffee grounds count as “greens,” which supply nitrogen. The names describe their composting role, so brown coffee grounds still belong with the greens.
NC State Extension suggests a starting mixture of two parts browns to one part greens. Use that as a starting point rather than a precise formula: materials vary. Mix grass through the leaves so it does not form a dense layer, and bury food scraps inside the pile.
3. Check moisture inside the pile
Reach below the surface when checking moisture. A damp top does not tell you much about the center.
The material should feel like a sponge after squeezing out most of its water. If it is dry, add water while mixing. If it is soggy, turn it and add dry leaves. Keep a small reserve of leaves beside the bin for adjustments.
As Illinois Extension explains, moisture and oxygen support decomposition. Turning brings outside material inward and loosens the pile. A commercial compost starter is generally unnecessary when the ingredients and conditions are suitable.
4. Give it time, then check before using it
Minnesota Extension estimates two to four months for well-managed compost in warm weather; an untended pile can take a year or more. An autumn start in a cold climate will not follow a summer timetable.
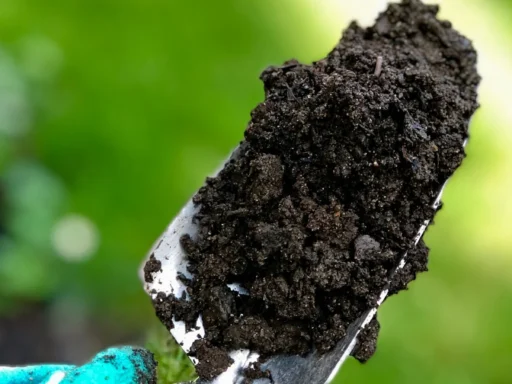
Finished compost should be dark, smell earthy, and have few recognizable ingredients. Let it mature after active heating ends. A cold pile alone does not prove it is finished: dry material can stop heating too. NC State recommends a curing period of six to twelve weeks after heating ceases.
Only have leaves? Make leaf mold
Put damp leaves in a ventilated enclosure or sturdy bags with small air holes. Check occasionally and moisten them if they dry out. Label the batch with its starting date so you can follow its progress without guessing.
Illinois Extension describes a bag method that produces partially decomposed leaf mold in about six to twelve months. Actual timing varies with leaf type, moisture, and conditions. Use the broken-down material as mulch, or retain it as a brown ingredient for future compost.
You also do not need to gather every leaf. Where practical, leave undisturbed leaf litter in garden beds to provide shelter for overwintering insects.
Put your first batch to work
Finished compost adds organic matter that can improve moisture retention in sandy soil and drainage in heavier soil. If you are preparing a new growing space, our guide to starting a garden from scratch explains where soil preparation fits into the bigger job.
For now, choose one accessible spot, gather your first batch, and write down the date. At your next check, note whether the material is dry, damp, or waterlogged. Those observations give you something useful to act on.
When covering soil around plants, consult our garden mulching guide for materials and application advice.