
For pollinator-friendly fall garden cleanup, keep healthy standing stems and undisturbed leaves where they can safely remain. Clear walking routes, remove debris associated with a diagnosed plant problem, and follow local fire-safety guidance near buildings. You do not have to choose between stripping the garden bare and leaving every fallen leaf exactly where it lands.
The useful question is smaller: what job is this particular patch doing? A leaf-covered woodland border and a slippery front step need different treatment. So do a healthy flower stalk and a rose that spent summer dropping black-spotted leaves.
This guide focuses on those decisions. You can use it for one perennial bed or work around the yard a section at a time, keeping the cleanup manageable without treating living habitat as waste.
Start With a Leave-or-Remove Walk
Before bringing out the rake, walk from your front door to the garden and back. Identify the places people must use, the beds you can leave quiet, and plants that had a specific disease or pest problem. Carry a small container for litter so plastic, string, and garden labels do not end up mixed with organic material.
| What you find | First decision | What to check |
|---|---|---|
| Healthy leaves in a shrub or woodland bed | Usually leave them | Keep plant crowns and required safety clearances in mind |
| Leaves on steps or an accessible path | Move them | Choose a safe receiving area before collecting |
| Standing, healthy perennial stalks | Retain where practical | Trim only what obstructs use of the space |
| Fallen leaves from roses with confirmed black spot | Collect separately | Use disease-specific sanitation guidance |
| Thick, wet leaf coverage hiding lawn grass | Reduce the accumulation | Separate habitat leaves from material intended for processing |
| Dry debris beside a deck in a wildfire-prone area | Prioritize fire safety | Ask the local fire authority where habitat material can remain |
Think of this as a sorting plan, not a universal prescription. If a row does not describe your situation, pause instead of forcing the material into the nearest category.
Keep Habitat Leaves Intact
The Xerces Society’s Leave the Leaves guidance explains that fallen leaves shelter insects in several life stages. A patch that looks empty can contain eggs, caterpillars, or concealed cocoons. Shredding makes neat mulch, but it can destroy the animals using those leaves.
Where existing leaf litter is out of the way, leaving it undisturbed is the simplest choice. If leaves must come off a path, gently relocate them into a suitable nearby bed rather than running them through a mower first. Avoid turning a habitat corner into a frequently shuffled storage pile.
That distinction matters when planning your workload. Decide which leaves are habitat and which are surplus material you intend to process. You cannot promise the same insect protection from a shredded, turned compost pile as from an undisturbed leaf layer.
Our leaf-composting guide covers the processing route. Use it for the material you have deliberately set aside for composting, not as a reason to shred the whole garden.
For example, you could leave the established leaf layer beneath a backyard tree, move loose leaves off the patio to an adjacent shrub bed, and collect the remaining excess separately. There is no requirement to turn every corner into the same kind of space.
Save Useful Stems, Not Just Flowers
A garden can support insects after its flowers finish. University of Maryland Extension’s Pollinator Gardens guidance emphasizes winter shelter as well as food. It recommends retaining dead stalks and, when cutting cannot wait, moving clippings to a less visible habitat area.
Healthy perennial stems at the back of a border are often easy to retain. A stalk leaning across a narrow walkway is a different case. Cut the obstruction selectively rather than mowing down the entire planting for the sake of one awkward stem.
There is also a longer life cycle to consider. Xerces’ Nesting & Overwintering Habitat guide describes how bees can use old hollow or pithy stems for nesting during the growing season, with developing insects remaining into another winter. A stem does not become disposable simply because the first warm spring weekend has arrived.
When later pruning to create nesting openings, the guide suggests varied stem heights of roughly 8 to 24 inches. That advice applies to suitable dead flower stems, not to cutting every shrub to knee height. Keep occupied or potentially occupied older stubble where practical, allowing new foliage to screen it.
Do not split stems open to look for insects. Leave potentially occupied material intact.
Make Exceptions for Specific Plant Problems
“Leave healthy material” is useful advice. “Keep everything because it is natural” is not. University of Maryland Extension notes that rose black spot can persist in fallen leaves and affected canes. Collecting infected leaves is part of managing that disease.
If one rose had confirmed black spot, work beneath that plant separately. Do not spread its fallen foliage through the rest of the border as habitat mulch. Ask your local Extension office about disposal and pruning for the diagnosed problem, particularly if your garden has recurring disease.
At the same time, ordinary autumn yellowing is not enough to diagnose infection. If you are unsure, photograph the whole plant and a close view of the affected tissue before removing it. Include when the symptoms started. That is more useful for identification than an unlabeled bag of brown leaves.
Use two collection containers if necessary: one for material you are confident can stay on site and another for questionable debris awaiting a disposal decision. The purpose is to prevent accidental mixing while you work. Empty and label them clearly rather than leaving an unidentified pile for someone else to spread later.
This targeted approach lets you address a real problem without assuming the healthy bed next door requires the same cleanup.
Keep the Garden Usable and Safe
Give paths their full width
A tidy edge can do more for the appearance of a natural garden than cutting everything down. In its spring-cleanup guidance, University of Maryland Extension recommends clear, accessible paths and visible signs of care, such as edging or explanatory signs.
Keep the actual walking surface clear, including the route to bins, a gate, or a water spigot. A path that works for one person without carrying anything may still be awkward with a wheelbarrow, stroller, or mobility aid. Test the route as you normally use it.
Place any habitat sign where it can be read without stepping into the bed. A short message such as “Leaves and stems retained for winter wildlife” explains the choice without making the space look abandoned.
Do not build habitat against vulnerable structures
In wildfire-prone locations, habitat plans must fit defensible-space guidance. CAL FIRE’s Ready for Wildfire advice calls for removing combustible debris close to buildings and decks and checking local requirements. Do not stack leaves or branches against the house because a general gardening article recommends a brush pile.
Ask your local fire authority about appropriate placement on your property. The correct compromise may be a habitat patch farther from structures, a smaller retained area, or no debris pile in that location. Do not assume California’s zone distances are a universal rule for every US property.
Adjust the Plan to Your Yard and Climate
A shaded leaf bed, a dry planting, and a vegetable plot need different maintenance. University of Maryland’s pollinator-garden guidance recommends matching plants and habitat choices to local growing conditions. Use the same site-specific thinking for cleanup.
- Small front yard: Keep one clearly bounded habitat bed, clear the entrance, and retain selected stalks behind the front edge.
- Large tree canopy: Choose the receiving area before moving leaves so you do not repeatedly rake and redistribute the same material.
- Mixed flower and vegetable garden: Treat crop sanitation and perennial habitat as separate decisions. Do not empty a problem vegetable bed into a healthy flower border.
- Container garden: Keep access and drainage openings clear. Do not force a woodland leaf-litter arrangement into pots where it obstructs routine care.
In a cold-winter region, plan the essential access work before snow covers the edges you need to see. In a mild-winter region, continue observing what is flowering, growing, or being used by insects instead of importing a northern shutdown date.
If the main question is how to protect soil around a particular plant, our garden mulching guide covers material choices. Habitat retention and mulch application overlap, but they are not identical jobs.
Do Not Undo the Work With a Spring Clear-Out
There is no nationwide date when every overwintering insect has emerged. University of Maryland’s Waiting on Spring Garden Cleanup explains that emergence varies among species and with local conditions. Warm weather is a cue, not an all-clear signal for every leaf and stem.
A practical approach is to leave a permanent quiet patch, then open only the space you need for active gardening. If new shoots are hidden at the front of a bed, reveal that specific area carefully rather than raking all the way to bare soil throughout the border.
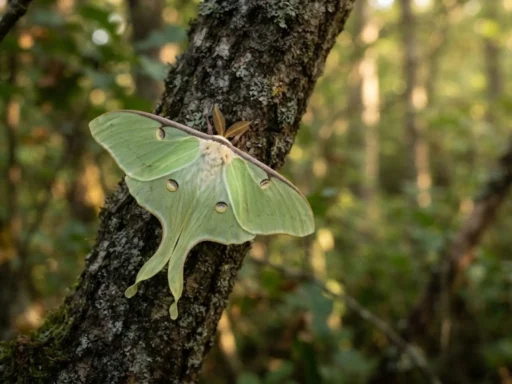
For a garden intended to support moths as well as bees, our luna moth habitat guide adds the host-tree side of the plan. Fall cleanup is one part of that larger habitat, not a substitute for suitable plants.
Common Fall Cleanup Questions
Does a pollinator garden have to look messy?
No. You can maintain clean paths and a deliberate bed outline while leaving the interior less disturbed. Start with the part visitors see first, then decide which work inside the bed is genuinely necessary.
Should I buy an insect hotel before leaving stems?
You do not need one to begin. Xerces’ nesting-habitat guide prioritizes natural features such as stems, leaves, and undisturbed ground. Retaining existing suitable habitat is a reasonable first step before adding equipment that needs its own maintenance.
What if the leaves keep blowing back?
Reconsider the receiving spot. An exposed edge beside pavement may create repeated work. Try a more sheltered, suitable bed within your own property, while respecting plant health and fire-safety needs. Do not push the problem onto a neighboring path.
What should I do first if I only have half an hour?
Clear the necessary walking routes and separate any known problem debris. Leave the healthy, out-of-the-way material alone. You can refine the appearance another day without making irreversible cuts now.
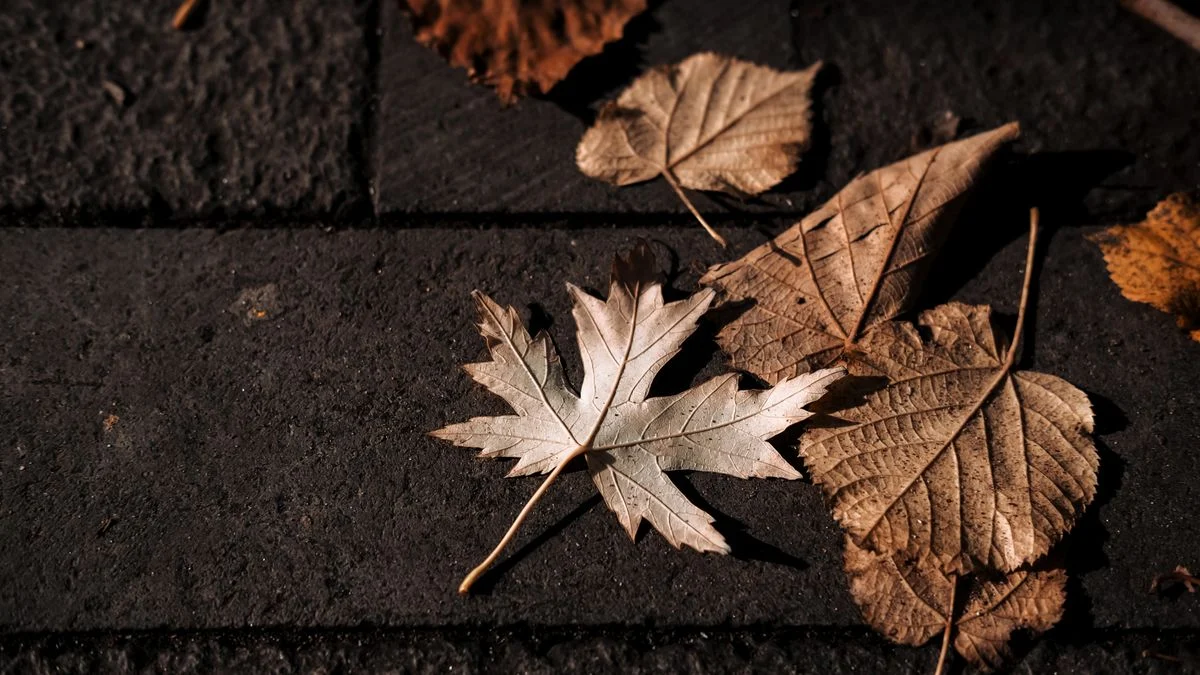
Featured photograph: fallen leaves on paving stones, illustrating material to relocate from walking routes. Photo supplied by bilakis via Pexels.